Communication

Bread-board with 2 Arduinos

During the last months you didn’t hear much about the Walker. Well, during New Year vacation I was much occupied with family and 31C3. But development did proceed. After sorting out servos and basic Inverse Kinematic I am now focusing on setting up the full framework of components communication between them.

I wanted to have the framework in place before getting deeper into motion control and sensor reading because:

  • I want to avoid heavy porting from a test environment.
  • I want to make sure the design fits to an environment with multiple modules.
  • I want to experience any issues because of delayed communication as early as possible.
  • I want to develop a framework that allows tracking of joint and sensor values in real time. I’ll have to develop some test functions at all, so make sure to keep them for testing in later stages.

communication_sketch

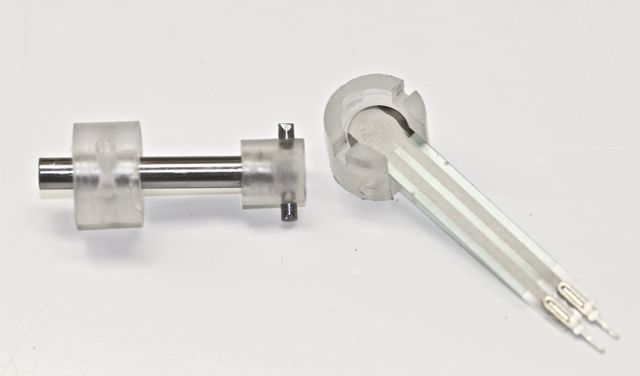
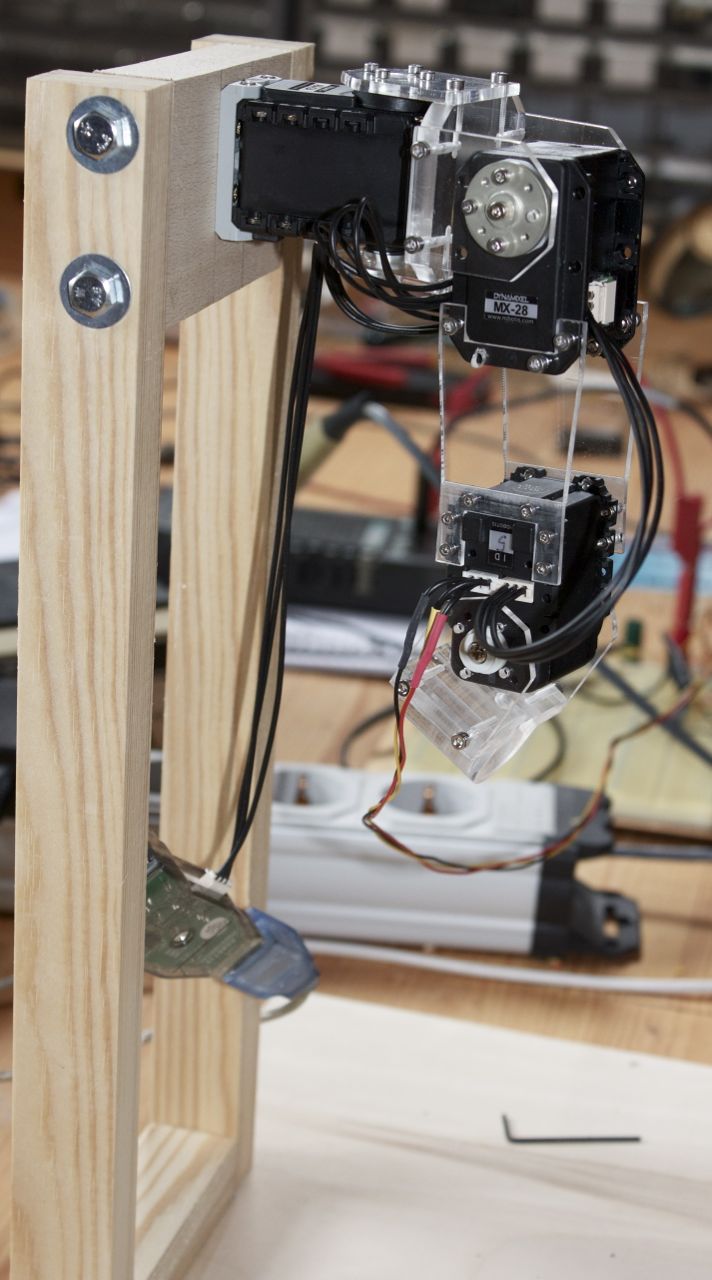
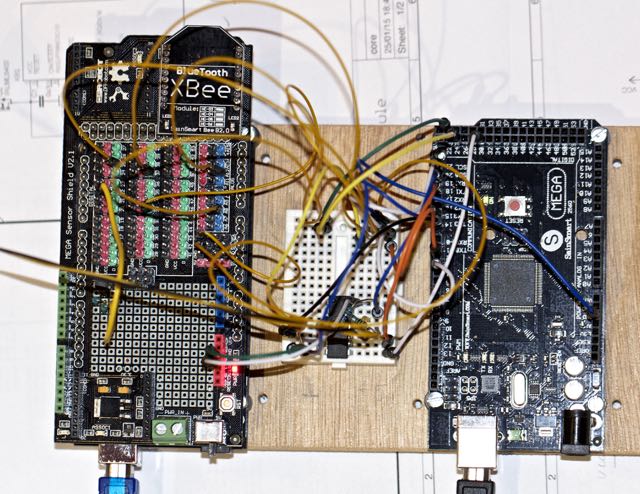
The walker has a core module connecting to sensors and controlling body and  movement. Each pair of legs is controlled by it’s own segment module. It controls the leg servos, the tilt servo and reads the contact sensors in the leg tips. Core and segments communicate through serial lines, with the core as master.

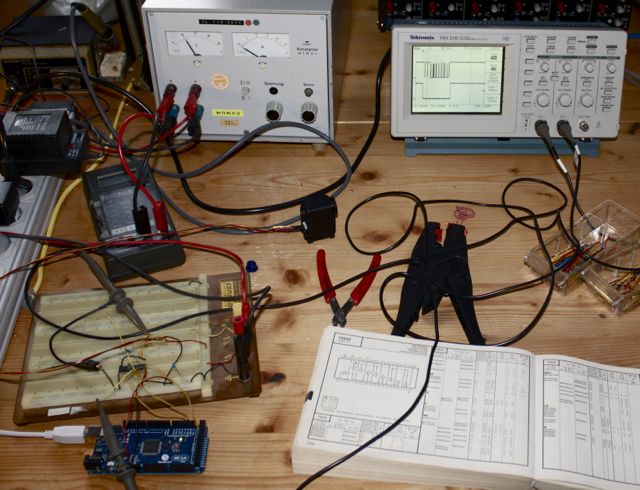
On the Mac runs a control application written in Java. It provides a graphical interface for debugging and controlling the Walker. The link between the Mac and the Walker uses Bluetooth. That was the easiest one, the Mac already provides Bluetooth, for the Walker I use a HC-05 Bluetooth module. It provides a standard serial profile and is rather  simple to use. It is connected to the core module over a serial line.

I had much fun with Java on Unix talking asynchronously with device files, or rather not. I also did test HC-04 BT Slave modules, but they don’t talk with Macs, which I found out after many futile tries.

This draft document describes the protocols, control lines and message formats.

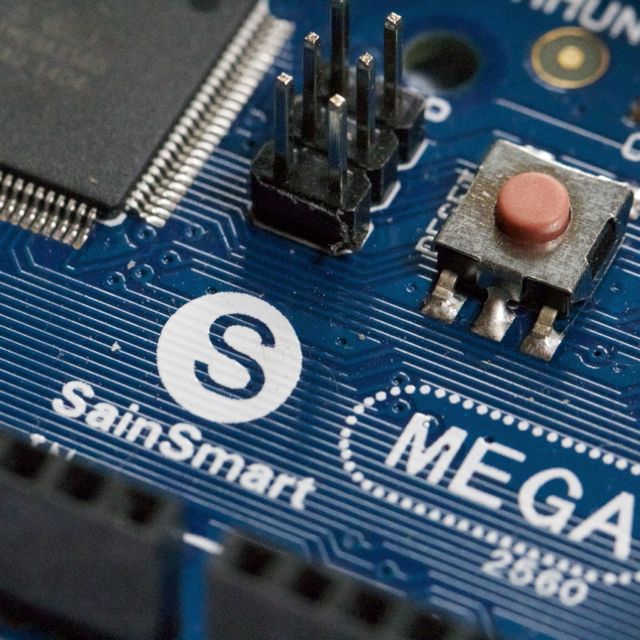
The frame-work is working, next steps will be a little bit of fine tuning, adding the touch down sensor electronics. The modules are still Arduino based, but the Eagle drawings are already under progress.

Double vs Integer

I have spent a few days to sort out the Inverse Kinematics formulas. My mathematics skills have been much better in the old days. As I am using an AVR ATmega2560 I did the implementation in fixed point integers. As everyone knows float calculations are much too slow.

It took me days to get atanacos and sqrt functions working. I need reasonable resolution (<1°) and reasonable sized lookup tables. But generally flash isn’t an issue, the ATmega2560 has 128 kByte of it.

For the automated testing, that I always implement, I did check my integer functions against their double precision counterparts. And as the AVR has timers, I also tracked the execution times. I was surprised.

int16double
min / avg / max
in [us]
min / avg / max
in [us]
sqrt24 / 38 / 5628 / 31 / 36
acos48 / 49 / 52128 / 160 / 176
atan140 / 152 / 160168 / 184 / 204
inverse kinematics544 / 559 / 580829 / 926 / 976

Ok, double is slower than 16 bit integer. But, the overall difference is only 70%, but accuracy is much higher. The inverse kinematics results calculated with integers differ by 5° maximum, the double results are better than 0.1°. Writing the fixed point functions took about 4 days, the double version 30 minutes. The planning of accuracy and operand length for fixed point integer is a pain.

What do I take from this:

  • Never optimize before I have the proof that I need to.
  • Double isn’t as bad as I thought. And much much easier to handle.
  • I’ll use double for the project. As I am planning to split the control to leg and body control to multiple processors, I should have enough resources to get a reasonable cycle time.
  • If not, I can optimize later.

How to Spend Rainy Holidays

I took a few days off, to get a a little bit of something different before the up-comming stressful weeks.

After a nice party with old friends I had to face the fact that the week would not be as nice and sunny as I had hoped. What else to to than to work a little bit on my Walker robot.

The software can now reliably control the servos, next I am going to get motion and inverse kinematic in place. I have started to implement a linear motion in integer arithmetic. Tricky.

walker-foot_force_sensor-2-IMG_5996And I spent some time drawing the force sensor for the feet. I have stripped the design down to one force sensor just measuring the force in the direction of the Tibia. The sensor changes resistance from 10MΩ down to 1kΩ. I have to check the range I am interested in, but these values should be easy to interface with the Arduino.

The components are again made of acrylic glass. They are milled out of raw blocks. They fit into the tibia leg tube with an diameter of 15mm. The piston with the axle pushes onto the sensor mounted into the holding block. I am planning to use bouncy balls as feet. Let’s look if this works.

walker-foot_force_sensor-2-IMG_6014

It Moves!


walker-servo_response-IMG_5870Finally I got the code fixed that talks to the servos. The first AX-12A is moving. The scope screen shows the serial communication on the servo bus. Now I am expanding the functions to be able to talk with the three servos of the test foot. At the moment two AX-12A and one MX-28.

This servo configuration might change in the future, a parcel with more servos is on it’s way.

Stripping Arduino from the Arduino

arduino-IMG_5798I had bought an Arduino for my Walker project, a Mega 2560 to have enough pins, memory and compute power. A nice piece of hardware, and easy to use with plenty of software, as I had heard.

I am not unexperienced with AVRs. Owning a bunch of SPI programmers and a JTAGICE3.

The first thing I realized was that the easy to use development environment only supports one source file. Well. And it’s rather minimalistic. I switched to real makefiles and Eclipse.

Then I found out that the standard libraries are mainly supporting a linear synchronous programming model without fancy timers and interrupt handlers. I did start to write my own libraries in plain C.

When I tried to plug an interrupt routine into USART1 I got errors because the default libraries did occupy all serial interrupts, not only the one of USART0 used for the USB connection. That’s understandable because the AVR isn’t made for hardware abstraction and dynamic configuration. I did remove all the Arduino C++ code and recycled an existing library for the console I/O.

Now I am happy with an Arduino using purely the hardware. A really nice piece. I bought a second one.